You walk down into your basement on a sweltering summer afternoon and hear a wet squishing sound beneath your work boots. Water pools across the concrete floor right beside your furnace, and your thermostat screen displays a blank error message. Last summer, I dealt with this exact headache in my own home when my AC suddenly quit during a 95-degree heatwave. You need a reliable AC condensate pump not working fix before excess moisture ruins your drywall, grows toxic mold, or warps your subfloor.
Central air conditioners pull gallons of humidity out of indoor air every single day during peak cooling season. When gravity cannot drain this moisture away through floor drains, a small automated pump lifts the water through vinyl tubing and ejects it outside. A sudden mechanical or electrical failure stops your air conditioner and creates an immediate indoor flood risk. Fortunately, you can diagnose the problem, clear out stubborn slime, and restore proper drainage within an hour using basic household tools.
What You'll Learn ⭐⭐⭐⭐⭐
- Tools and Safety Equipment for the Job
- Air Conditioner Condensate Pump Troubleshooting
- The Float Switch Gets Stuck
- The One-Way Check Valve Fails
- The Discharge Tubing Suffers a Blockage
- The Complete AC Condensate Pump Not Working Fix
- Step 1: Verify Power and Inspect the Electrical Outlet
- Step 2: Clear the Clear Vinyl Drain Line
- Step 3: Deep Clean the Reservoir and Impeller Screen
- Step 4: Test and Free the Float Mechanism
- Step 5: Service or Replace the Check Valve
- AC Condensate Pump Humming Not Pumping
- AC Safety Overflow Switch Triggered and Low-Voltage Wiring Guide
- Testing Condensate Pump with Multimeter
- Condensate Pump Replacement Cost, Sizing, and Brand Recommendations
- Preventive Maintenance to Keep Water Flowing
Tools and Safety Equipment for the Job
Gather your tools before you disassemble any electrical or plumbing connections.
Tools and Materials
- One wet/dry shop vacuum
- One digital multimeter
- One flathead screwdriver and one Phillips screwdriver
- One small adjustable wrench
- One flexible tube cleaning brush
- One five-gallon plastic bucket
- One wire stripper and two standard wire nuts
- Clean microfiber shop towels
- One bottle of distilled white vinegar
Safety Guidelines
- Shut off electrical power at the main breaker box before handling wet components.
- Unplug the pump cord directly from the wall outlet before opening the motor housing.
- Never stand in pooled water while handling electrical wiring or testing live circuits.
Air Conditioner Condensate Pump Troubleshooting
Modern drainage units rely on simple mechanical parts that fail when dirt and algae build up over time. Identify which component stopped working so you can apply the right repair immediately.
The Float Switch Gets Stuck
Algae, airborne dust, and bacterial slime settle into the plastic collection basin during regular operation. This thick sludge traps the lightweight plastic float ring at the bottom of its guide post. The motor never receives the signal to turn on because the float cannot rise with the rising water level, causing the basin to overflow onto your floor while the motor remains dead silent.
Pro-Tip: If your pump stopped running, tap the side of the plastic reservoir lightly with the handle of a screwdriver. If the pump suddenly kicks on, your float switch is physically sticking on bacterial slime and needs a thorough scrub.
The One-Way Check Valve Fails
The small brass or plastic valve at the top discharge port stops ejected water from running backward into the tank. Mineral deposits and mold buildup often jam the internal ball mechanism inside this fitting. When the valve sticks open, expelled water flows straight back into the tank the second the motor stops, forcing the pump to short-cycle every thirty seconds until the motor burns out.
The Discharge Tubing Suffers a Blockage
Algae colonies thrive inside the clear vinyl tubing that runs from the pump to your outdoor drain. White slime gradually chokes the narrow three-eighths-inch tube until water cannot pass through. A blocked line forces the small motor to push against solid resistance, stalling drainage completely. Performing an HVAC drain line clog removal quickly restores normal flow and takes excess pressure off the motor.
The Complete AC Condensate Pump Not Working Fix
Follow these practical diagnostic steps in order to get your cooling system running smoothly again.
Step 1: Verify Power and Inspect the Electrical Outlet
Plug a small desk lamp or an outlet circuit tester directly into the wall receptacle powering your pump. Reset the ground-fault circuit interrupter (GFCI) button if the outlet shows zero electrical current. Check your main electrical service panel for a tripped breaker switch and reset it firmly, then inspect the pump power cord for visible cracks, pinches, or heat damage.
Step 2: Clear the Clear Vinyl Drain Line
Disconnect the flexible vinyl tubing from the barbed check valve fitting on the top of the pump housing. Take the outdoor end of the drain line and attach it to your wet/dry shop vacuum hose, wrapping a damp shop towel around the connection to create a tight suction seal. Run the shop vacuum for two minutes to pull out thick plugs of algae, then flush the line with warm water and distilled white vinegar to dissolve lingering deposits.
Step 3: Deep Clean the Reservoir and Impeller Screen
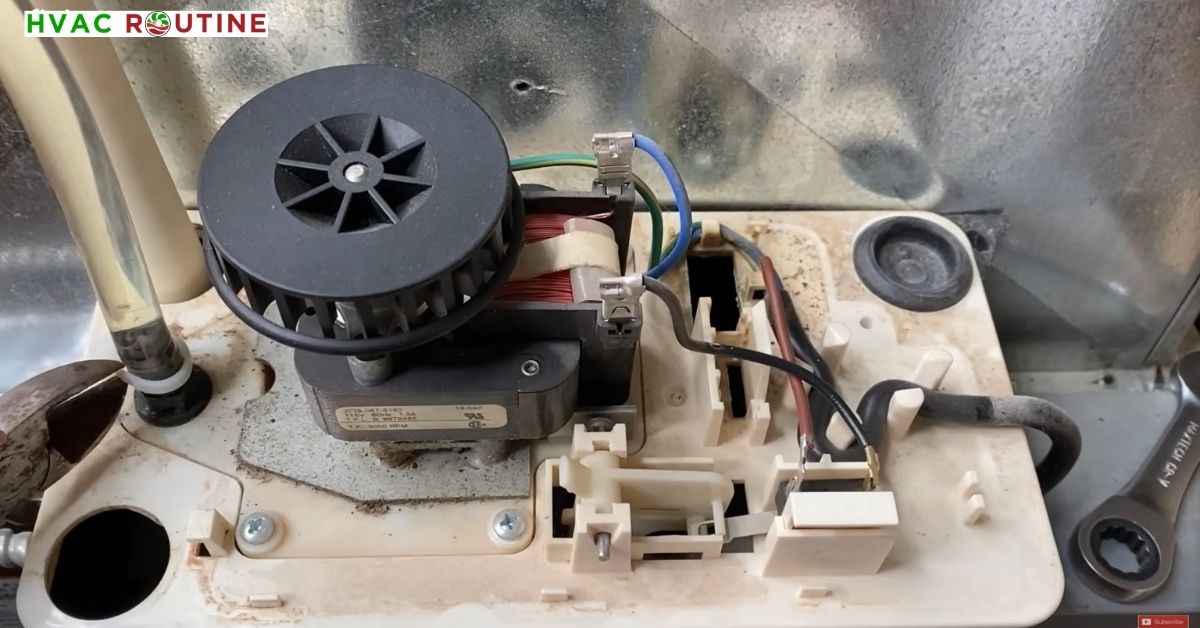
Unplug the power cord and pull the primary PVC drain pipe out of the top inlet hole. Release the plastic locking tabs on the sides of the unit and lift the motor housing straight up. Pour the dirty water into your bucket and scrub the plastic collection basin with dish soap and warm water.
Inspect the small centrifugal impeller wheel located on the bottom of the exposed motor shaft. Use needle-nose pliers to pull out pet hair, lint, and grit wrapped around the spinning impeller blades. Clean impeller blades ensure the motor moves water at full volume.
Step 4: Test and Free the Float Mechanism
Slide the plastic float ring up and down along its vertical plastic guide post. Listen for a crisp metallic click from the internal microswitch when you push the float to the top of its travel. Scrub the guide post with an old toothbrush until the float drops freely under its own weight. Always reinstall the float ring right-side up, because an inverted float ring prevents the internal switch from activating.
Step 5: Service or Replace the Check Valve
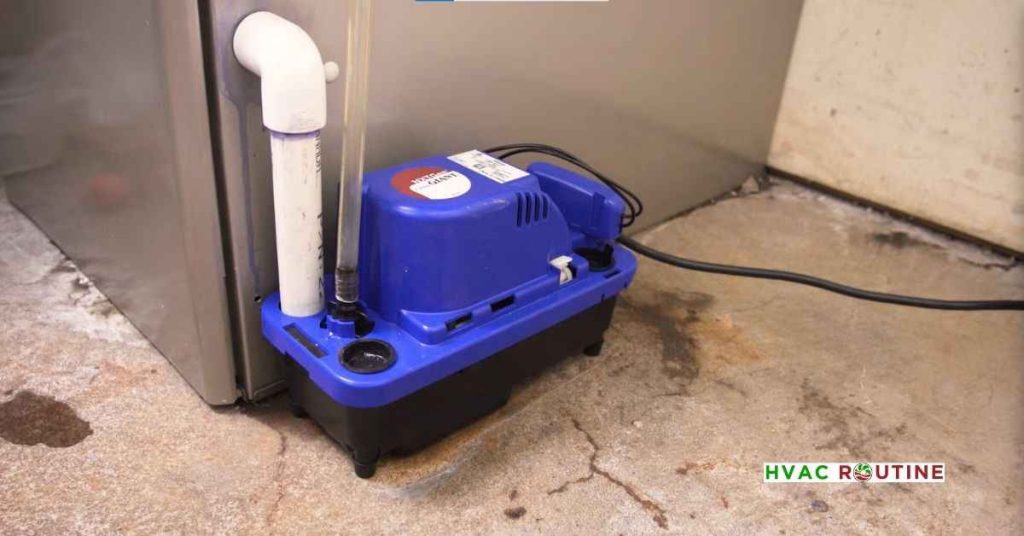
Unscrew the check valve fitting from the discharge port using a small adjustable wrench. Press the small internal ball or rubber flapper with a clean screwdriver tip to ensure free movement, and rinse mineral scale away under hot running water. Blow gently into the bottom of the valve to confirm air passes freely in only one direction; if air or water passes backward, thread a new check valve in place.
Pro-Tip: Always keep an inexpensive spare check valve in your utility toolbox. These small plastic mechanical parts fail far more frequently than the actual pump motor itself.
Applying this practical AC condensate pump not working fix early protects your basement from costly structural rot and restores cold airflow right away.
AC Condensate Pump Humming Not Pumping
A low humming sound indicates that your motor receives electricity but cannot turn the impeller shaft. Trapped debris often jams the impeller blades against the bottom plastic shroud. For example, dry drywall dust from an unfinished basement remodel often mixes with water in the pan, forming a thick paste that locks the spinning shaft in place.
Unplug the unit, separate the motor housing, and spin the impeller manually with your fingers. If the shaft feels stiff, clean the bearing area and wipe away trapped grit. If the motor hums loudly while the impeller spins freely by hand, the internal electrical motor winding has failed and requires an immediate replacement.
AC Safety Overflow Switch Triggered and Low-Voltage Wiring Guide
Most modern HVAC installations connect a secondary high-water safety switch directly to the low-voltage thermostat line. When water rises past the standard operating level, this safety float breaks the 24-volt electrical circuit. Your outdoor AC condenser shuts down instantly to prevent the air handler from producing more water, while your indoor blower fan might continue blowing warm air. Emptying the full reservoir tank drops the safety float, reconnects the 24-volt circuit, and turns your cooling back on.
To wire this 24V safety switch during a new pump installation, splice it directly into the low-voltage thermostat wire bundle:
- Locate the main thermostat wire running from your indoor air handler to the wall thermostat.
- Identify either the red wire (R-terminal for 24V power) or the yellow wire (Y-terminal for cooling control).
- Cut your chosen wire and strip a half-inch of insulation from both cut ends.
- Connect one cut end to the first safety switch lead from the pump using a wire nut.
- Connect the second cut end to the remaining safety switch lead using another wire nut.
Wiring this safety switch in series guarantees that rising water breaks the circuit and stops cooling before water spills over your floor.
Testing Condensate Pump with Multimeter
A basic digital multimeter tells you within sixty seconds whether you face a mechanical or electrical failure. Set your multimeter dial to the lowest Ohms resistance setting or continuity mode, and unplug the pump power cord from the wall outlet before touching probe tips to internal terminals. Remove the top plastic cover to expose the small microswitch terminals inside the motor housing.
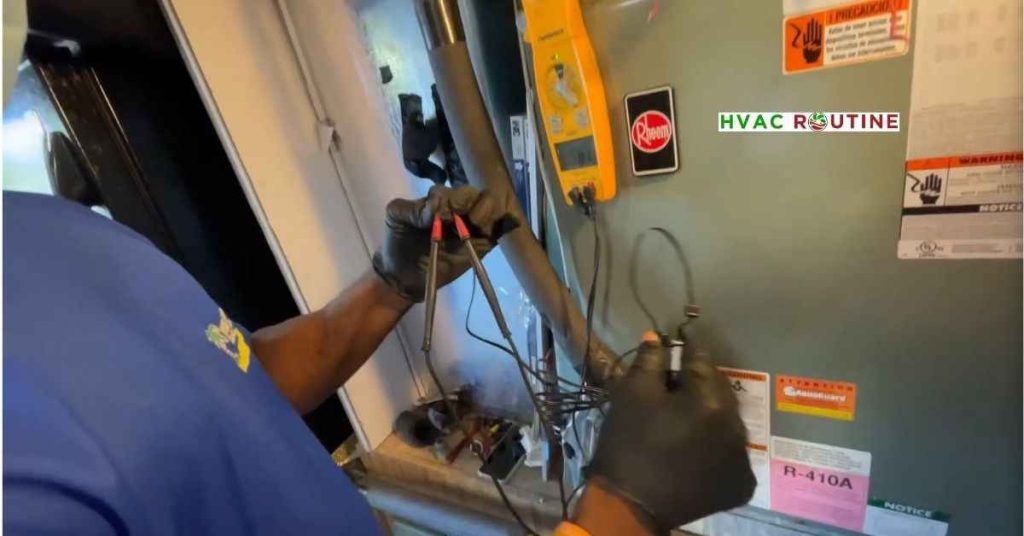
Place the black and red test leads across the two primary switch terminals and lift the primary float manually. Your multimeter must emit a continuous tone or display a resistance reading near 0.0 ohms. A meter reading “OL” or infinite resistance with the float raised confirms a dead microswitch that requires replacement.
| Test Step | Normal Multimeter Reading | Action Required If Reading Fails |
| Primary Switch (Float Down) | Open Line (OL / Infinite Ohms) | Clean float post; switch is stuck closed |
| Primary Switch (Float Raised) | Continuity (0.0 to 0.5 Ohms) | Replace primary microswitch or pump unit |
| Safety Switch (Normal Water Level) | Continuity (Closed Circuit) | Verify float sits flat at tank bottom |
| Safety Switch (High Water Overflow) | Open Line (Breaks 24V Line) | Replace safety switch if circuit remains closed |
| Motor Windings (Power Disconnected) | 15 to 45 Ohms Resistance | Replace pump motor if reading shows zero or OL |
Condensate Pump Replacement Cost, Sizing, and Brand Recommendations
Replacing an old, worn-out unit often makes more financial sense than replacing individual internal components. A brand-new residential condensate pump costs between forty and ninety dollars at local hardware stores, and most handy homeowners complete the physical replacement in under forty-five minutes. Check the voltage specification printed on your old unit’s label before purchasing, as standard residential units use standard 115-volt wall plugs while commercial air handlers often require 230-volt wiring.
Select a pump with the correct Gallons Per Hour (GPH) flow rate to match your air conditioner’s cooling capacity:
| AC System Cooling Capacity | Recommended Pump Flow Rate | Recommended Head Height Lift | Typical Building Application |
| 1.5 to 3 Tons | 50 to 80 GPH | 12 to 15 Feet | Single-story homes, condos, and small basements |
| 4 to 5 Tons | 80 to 120 GPH | 18 to 22 Feet | Multi-level homes, attics, and large commercial spaces |
Check the vertical lift rating printed on the product box before purchase. If your vinyl tubing runs fifteen vertical feet up into an attic, select a pump rated for at least twenty feet of lift. HVAC professionals regularly choose the Little Giant VCMA-15 for standard 115V residential basement setups. For taller discharge lines or heavy condensation from five-ton systems, the DiversiTech CP-22 provides exceptional lift power and durable operation.
You do not need professional HVAC certifications to perform a dependable AC condensate pump not working fix on standard residential units.
Preventive Maintenance to Keep Water Flowing
Routine seasonal care prevents surprise water leaks during the hottest weeks of summer. Pour eight ounces of distilled white vinegar into the open inlet port every three months. The mild acid breaks down mineral deposits and kills bacterial slime without eroding the plastic tank.
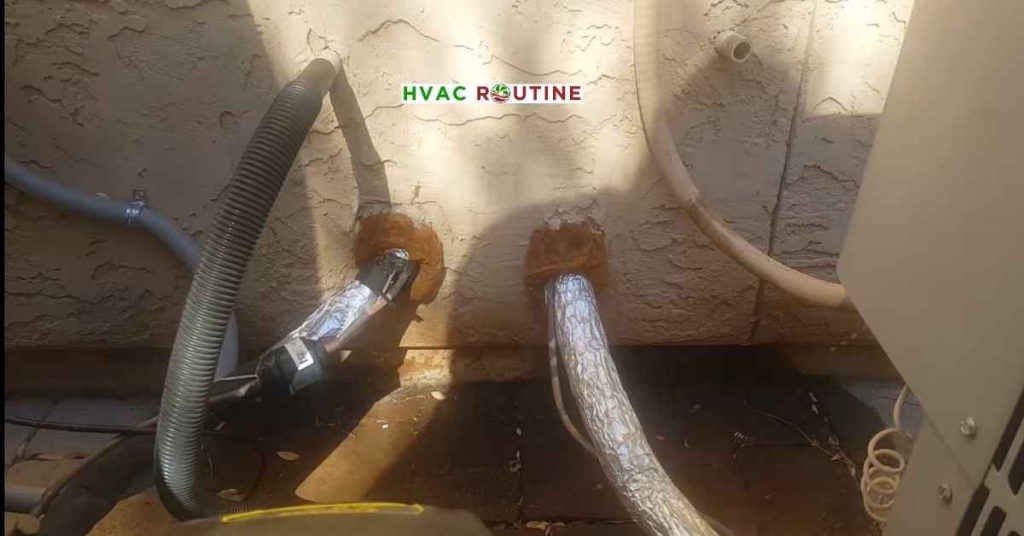
Drop two slow-dissolving condensate pan tablets into your primary air handler drain pan every spring to keep algae from establishing roots. Inspect the vinyl discharge pipe outside your foundation wall twice a year to ensure dirt daubers or garden mulch do not block the exit. Finally, place an inexpensive battery-powered water sensor on the floor right next to your pump reservoir for instant peace of mind.
A failing drainage pump creates immediate frustration, but systematic troubleshooting resolves the problem quickly. Regular cleanings, clearing blocked lines, and testing float switches keep your drainage system operating smoothly all summer long.