Heating and cooling systems consume nearly half of a standard home’s energy budget. Setting up a proper HVAC routine maintenance schedule protects your wallet and keeps your home comfortable year-round.
The U.S. Department of Energy reports that simple preventative checks cut unexpected repair bills by up to 90 percent. A well-maintained air conditioner or furnace runs smoothly and lowers monthly utility costs by 15 to 30 percent.
This guide gives you a clear, practical roadmap for maintaining your equipment.
You will learn quick DIY repairs, safety protocols, smart tech integrations, and exact times to hire a professional.
What You'll Learn ⭐⭐⭐⭐⭐
- Tools Required for HVAC Maintenance
- Safety Warnings Before Starting Work
- Why HVAC Routine Maintenance Keeps Your Home Comfortable and Saves Money
- Step-by-Step Fixes for Homeowners
- Seasonal Tune-Up Checklist
- Smart HVAC Technology and Automation Integration
- When to Call a Pro for Complex Repairs
- Common HVAC Maintenance Questions Answered
- Key Takeaways for Long-Term System Performance
Tools Required for HVAC Maintenance
Gathering the right tools before you begin ensures a smooth work process.
Here are the basic tools and supplies you need for home care:
- Air Filters: Buy fresh replacement filters that match your system dimensions and airflow requirements.
- Hand Tools: Keep a set of non-magnetic screwdrivers, needle-nose pliers, and a socket wrench handy.
- Cleaning Gear: Use a wet-dry shop vacuum, a soft-bristle brush, a fin comb tool, and a standard garden hose.
- Flush Solutions: Keep white distilled vinegar or specialized drain pan cleaning tablets on hand.
- Testing Tools: Use a non-contact voltage tester to verify power disconnects safely.
Safety Warnings Before Starting Work
Working around electrical motors and high-voltage equipment requires strict caution.
Follow these safety rules every single time you work on your equipment:
- Shut Off Electrical Power: Turn off power at the main circuit breaker panel and the outdoor disconnect box before opening any access panel.
- Watch Out for Capacitors: Remember that capacitors store dangerous electrical charges even after you disconnect the main power source.
- Avoid Refrigerant Line Contact: Never bend or pinch copper refrigerant lines because pressurized chemical coolant can burn exposed skin.
- Turn Off Gas Valves: Shut off the gas supply line before inspecting combustion chambers or furnace pilot light assemblies.
Why HVAC Routine Maintenance Keeps Your Home Comfortable and Saves Money
Performing HVAC routine maintenance every season prevents sudden mechanical failures during extreme summer heat or winter cold.
Accumulated dust and debris inside your system force blowers and compressors to work twice as hard.
This extra strain causes electrical components to overheat and shortens total equipment lifespan.
By staying ahead of dirty coils and clogged lines, you preserve high SEER2 efficiency ratings and protect your home’s air quality.
Step-by-Step Fixes for Homeowners
You can handle several simple fixes yourself to maintain peak system performance.
Follow these step-by-step procedures to keep your equipment running cleanly.
MERV Rating Air Filter Replacement
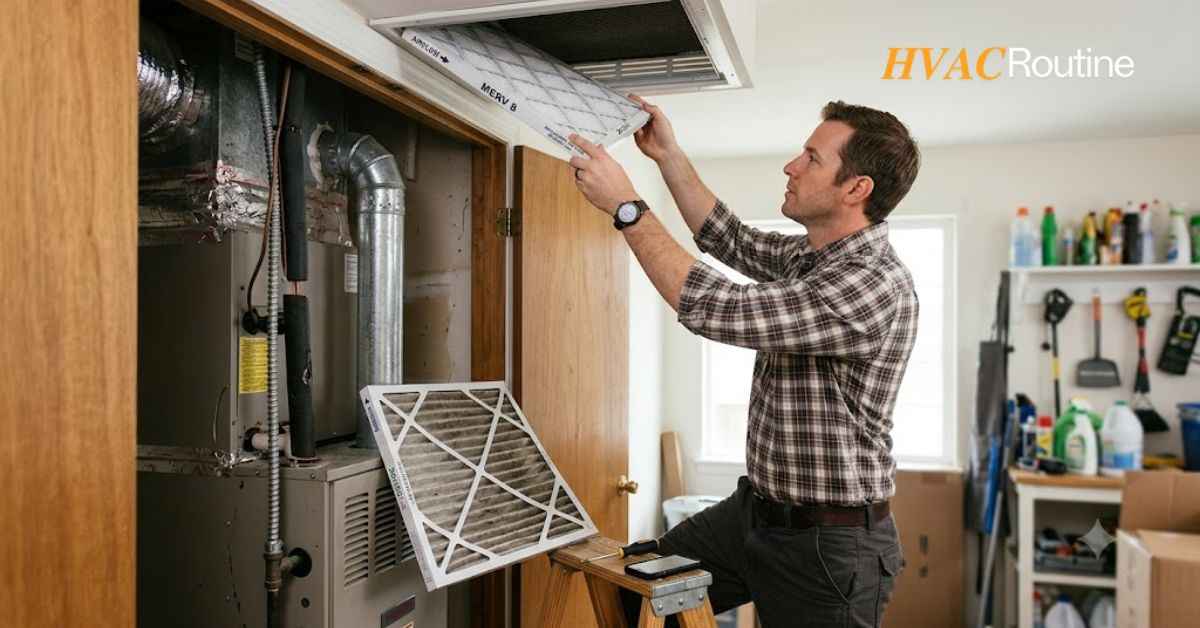
Select an air filter with a MERV rating between 8 and 11 for standard residential use.
Filters rated MERV 8 trap dust and pollen, while MERV 11 filters catch pet dander and fine dust particles.
First, turn off power to your air handler unit at the main wall switch.
Second, pull the old, dirty filter out of its slot near the return air duct.
Third, check the airflow direction arrows printed on the side of your new filter frame.
Fourth, slide the new filter securely into place so air moves in the direction of the arrows.
Replacing a dirty filter drops air conditioner energy consumption by 5 to 15 percent immediately.
Evaporator and Condenser Coil Cleaning

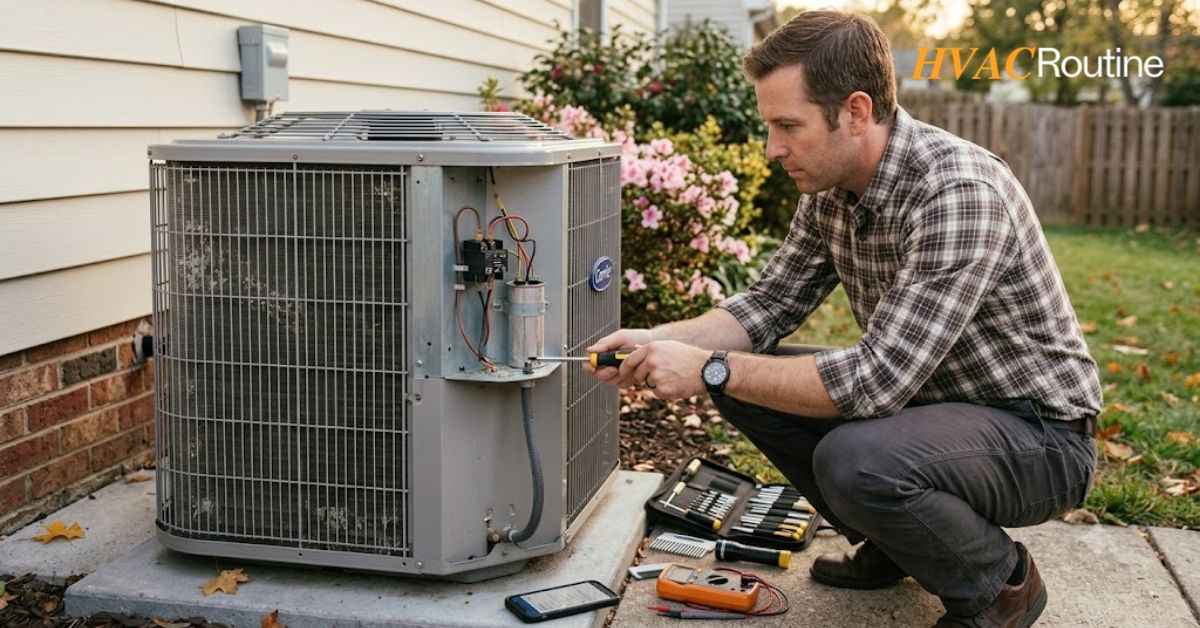
Clear away leaves, grass clippings, and twigs within two feet of your outdoor condenser unit. Turn off the electrical disconnect box located near the outdoor unit before spraying water. Use a low-pressure garden hose nozzle to wash dirt from the aluminum coil fins from the inside facing outward.
Straighten bent cooling fins carefully using a plastic fin comb to maintain unrestricted airflow. Gently brush surface dust off your indoor evaporator coil using a soft-bristle brush.
Condensate Drain Line Flush
Locate the white PVC condensate drain pipe near your indoor air handler. Remove the cap from the T-shaped access pipe on the drain line. Pour one cup of white distilled vinegar straight into the line to break down algae growth.
Let the vinegar sit for 30 minutes to dissolve standing sludge inside the pipe.
If water backs up, hook a wet-dry shop vacuum to the drain line outlet outside your home and suction out the clog.
Airflow Optimization and Duct Sealing
Walk through your home and verify that furniture or rugs do not block supply vents and return grilles. Inspect exposed ductwork in your basement, attic, or crawlspace for visible gaps or loose joints.
Apply metallic foil tape or brush paint-on mastic duct sealant over leaking seams. Never use standard cloth duct tape because heat degrades the adhesive over time.
Smart Thermostat Calibration
Place a digital thermometer next to your wall thermostat and wait 15 minutes. Compare the actual room temperature with the reading shown on your thermostat screen.
Adjust the temperature offset settings in your smart thermostat app if the readings differ by more than two degrees.
Set up automated temperature schedules to lower heating and cooling output while you sleep or work away from home.
Seasonal Tune-Up Checklist
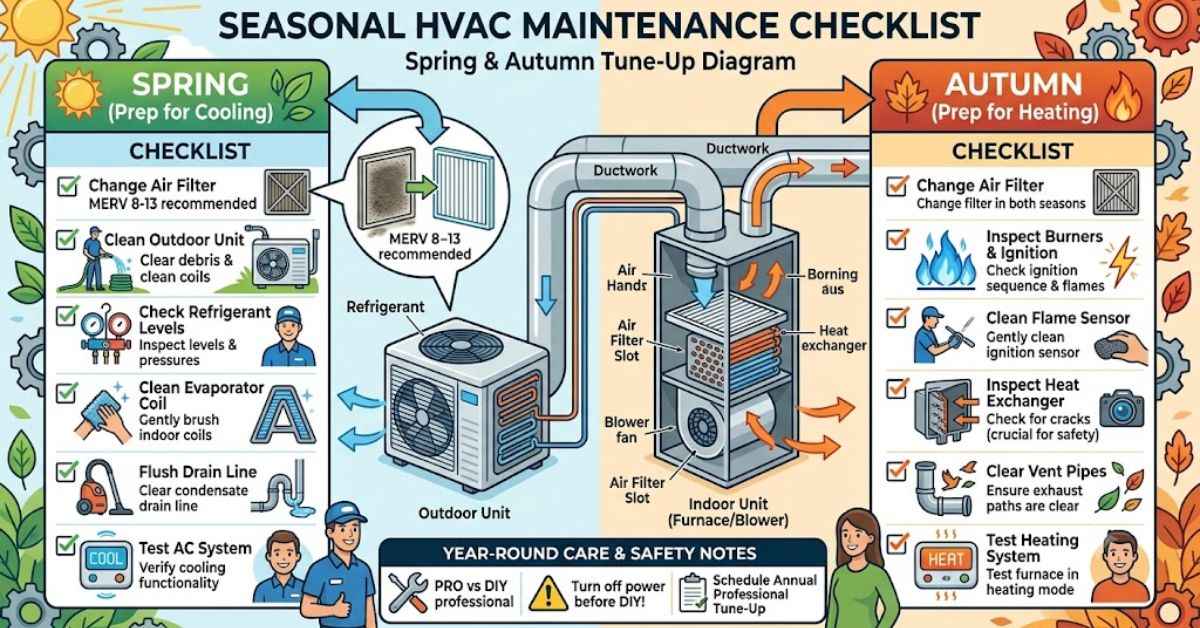
Divide your work into two specific seasonal checkups to ensure year-round readiness.
Spring Cooling System Checklist
Check the outdoor unit base pan for accumulated leaves and clear all drain holes.
Inspect electrical wiring insulation on the outdoor unit for signs of wear or pest damage.
Test your thermostat mode switch by cycling from heating to cooling and verifying cool airflow within five minutes.
Autumn Heating System Checklist
Inspect your furnace burner flames to verify they burn with a steady blue flame. Gently clean oxidation off the metal flame sensor rod using fine steel wool.
Test your home’s smoke detectors and carbon monoxide alarms before turning on gas heating.
Smart HVAC Technology and Automation Integration
Modern smart devices take the guesswork out of daily climate management. Smart thermostats with geofencing technology lower cooling output when your smartphone leaves home.
Connecting wireless static pressure sensors across your filter slot alerts you the exact moment filter resistance spikes.
Pairing your system with platforms like Google Home or Apple HomeKit gives you instant diagnostic updates and remote controls.
When to Call a Pro for Complex Repairs
Know your limits and hire a licensed technician for high-risk technical work.
Call a certified professional whenever you encounter the following situations:
Refrigerant Charge Inspection
Handling chemical coolants requires EPA Section 608 certification by law. Technicians use digital manifold gauges to measure operating pressures and adjust refrigerant levels.
If your air conditioner forms ice along the copper lines, a certified technician must locate the leak and repair it safely.
Furnace Heat Exchanger Inspection
Cracked heat exchangers leak dangerous carbon monoxide gas into your living space. Professionals inspect combustion chambers with specialized scope cameras and perform gas analysis tests.
Schedule a professional heating check every autumn to catch hairline cracks before they pose health risks.
Electrical Component Testing
Testing dual-run capacitors, contactors, and blower motor relays requires advanced diagnostic gear.
Technicians check electrical resistance and voltage drops under active electrical loads to stop sudden component failures.
Common HVAC Maintenance Questions Answered
How often should I perform DIY checks versus scheduling professional servicing?
Perform basic DIY checks like inspecting air filters and clearing outdoor debris once every month. Schedule professional servicing twice a year: once in early spring for cooling and once in autumn for heating.
For example, a homeowner in Texas checking filters monthly prevents dust buildup that freezes coils during 100-degree heat waves.
A professional technician checking electrical connections each spring keeps system efficiency high during peak summer operations.
What happens if I neglect system checks for multiple seasons?
Skipping routine care leads to heavy dust accumulation, restricted airflow, higher utility bills, and early motor failure. Dirt build-up on cooling coils forces the compressor to run longer cycles while consuming extra electricity.
For example, running a clogged filter for a full year increases static pressure inside your air handler.
The blower motor draws excess electrical amperage to push air, eventually overheating and burning out the motor winding.
Why does my indoor unit freeze up when the weather outside is hot?
Ice forms on evaporator coils due to restricted airflow or low refrigerant levels inside the system. When dust blocks airflow across the coil, refrigerant cannot absorb indoor heat, causing surface moisture to freeze solid.
For example, a homeowner noticing ice on copper suction lines should turn off cooling mode immediately and run the fan.
Replacing the dirty return filter restores proper airflow and thaws the coil within a few hours.
Does changing air filters regularly cut monthly power bills?
Yes, installing fresh air filters delivers immediate energy savings by reducing fan resistance.
Data from ENERGY STAR confirms that replacing a clogged filter lowers air conditioner energy use by 5 to 15 percent.
For example, a household running central cooling in July with a clean MERV 8 filter saves $20 on their electric bill compared to running a dirty filter.
How do I clear a backed-up condensate line when water fills the pan?
Clear blockages by connecting a wet-dry shop vacuum to the exterior drain exit line and pulling out the algae plug. Flush the indoor line with one cup of white distilled vinegar mixed with warm water to clear leftover residue.
For example, an overflow float switch turns off an AC unit when the drain pan fills up. Vacuuming the exterior drain line clears the blockage, resets the float switch, and restores cooling in less than 30 minutes.
Key Takeaways for Long-Term System Performance
Simple HVAC routine maintenance tasks take less than an hour each month and protect your investment for years.
Here is a quick summary of essential best practices:
- Check return air filters every 30 days and replace them as soon as dust layers block light passage.
- Maintain a two-foot clear perimeter around your outdoor condenser unit to ensure proper airflow.
- Flush your indoor PVC condensate line with vinegar every season to stop algae clogs.
- Pair monthly DIY surface care with professional annual inspections to protect warranties and maintain high SEER2 efficiency.